
Homemade Kefir 101

I did a consult with @animalbasedbae2.0 (Lindsay) a few months back because I was stressed and my hormones were off and I was trying to get started with an animal based way of eating and I was lost. She was a huge help and a great resource, and one of the things she told me to do was to make kefir. I had no idea where to start, but Dr. Drew from High Peaks Chiropractic offered me some kefir grains shortly thereafter and I decided to dive in.
A few benefits I’ve noticed from drinking kefir so far (it’s been about 2 months):
clearer skin
better digestion
I’m not just saying that either, I notice a night and day difference. Kefir is an amazing source of probiotics and I only wish I had started on it sooner! If you want proof that these are benefits you can reap from kefir read this article by Dr. Axe, it’s on point.
But back to making it … here’s the process I’ve trialed and errored into, give it a try. It’s worth it, I promise.
What you’ll need to be able to make your own homemade kefir:
1. Raw (or whole) milk
I love using raw milk, it’s the most nutrient dense for sure, but if you’re not able to source it or you’re not super comfortable with raw milk sitting on your counter for two days and then drinking it, start somewhere. I had been drinking raw milk long before I started doing this so I was comfy with it, but you have to meet yourself where you’re at and take it from there.
2. An empty Ball jar
Clean with a lid. Size will depend on how much grain you have, therefore how much space you’ll need for the milk. I’ll talk about that in a moment.
3. Kefir grains
You can get them from a friend or online. They grow over time the more kefir you make with them so it’s easy to give someone some from your own stock once the grains grow quite a bit. If anyone in the ADK region wants some let me know because mine have about doubled in size and I am happy to share, you only need a small amount to start.
Here’s the process I’ve stumbled into:
1. Take the grains and prep them to put in the empty jar. Between batches you let them sit in the fridge with a cover of milk. But if you’re not using them regularly you’ll want to change that milk out occasionally. I don’t like rinsing them, but I haven’t used them in over a week so the milk they were in was pretty developed so I gave them a quick rinse. You could take some of that and put it in with the grains as a great start to the kefir batch. I’ve done that before and it works great.
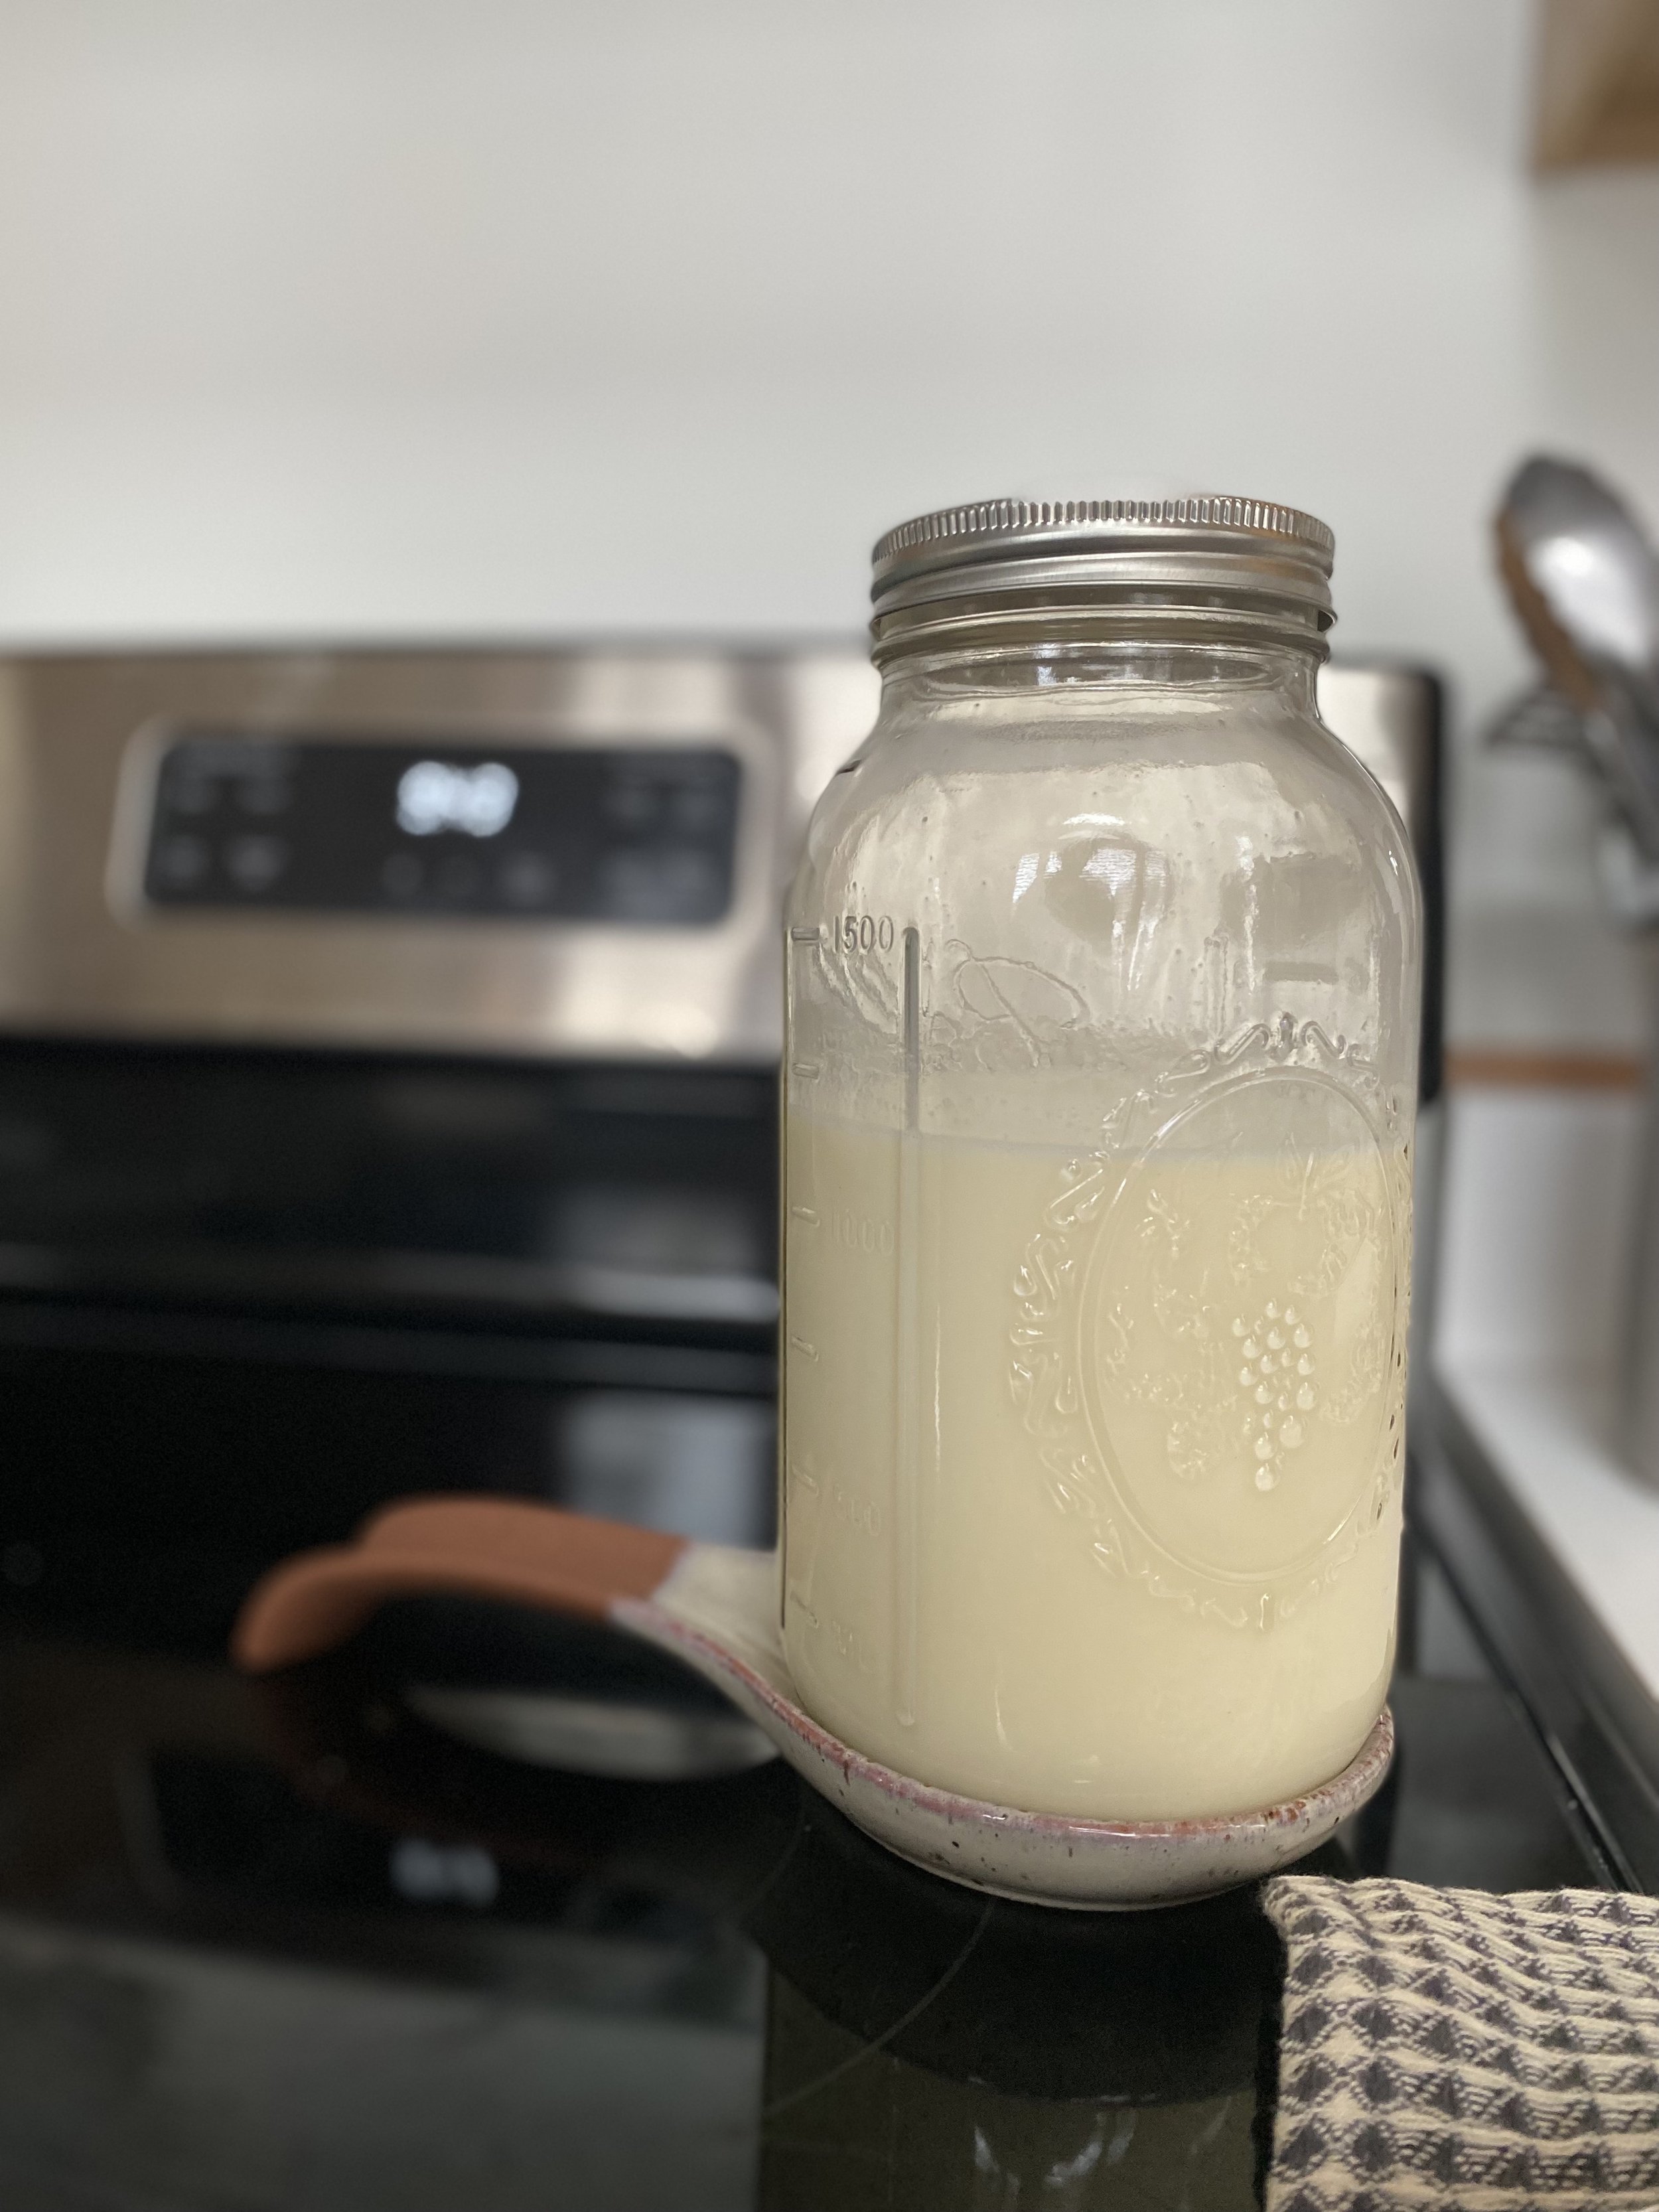
2. Once the grains are in, next is the milk. For reference, I used about a teaspoon of grain for the first batch I made and I used a 24 oz ball jar. I filled the jar about 3/4 of the way up and it was perfect. You’ll figure it out as you go, but there a couple ways to figure it … more grain, more milk OR more grain, less time. We’ll talk about duration in a moment.
3.Once the grains and milk are both in the jar, cover and give it a shake. Place the jar somewhere that is pretty even tempered and not too drafty. You want the kefir to be room temp for about 1-2 days. Occasionally you’ll want to shake it or burp it (release the lid and then put back on).
Now let’s talk timing.
A lot of factors affect the time you’ll let your kefir sit out. Room temp, amount of grains, amount of milk, etc. That first batch I made with 1 tsp of grains and 3/4 of a 24 oz ball jar of milk took about a day and half to two days. I’ve had batches since that I’ve kept the amount of milk the same and it’s done in a day tops because the grains have grown. You’ll find that balance. When I figured out the strengthening of the grains with ever batch I started adding just a bit more milk with every batch. I eventually graduated to a large ball jar and now with about a tablespoon of grains I’m putting about 5 cups of milk in. Again, find the system that works for you while using these steps as a guideline.
I’ve made it, but now how do you know it’s done?
You want it to be creamy in consistency. You’ll shake it and it will give the jar walls a nice layering that is pretty thick. Not chunky, but smooth and creamy.
A tip of my own, once you’ve let it do its time, I HIGHLY suggest letting it sit in the fridge with the grains still in for at least a couple hours if not more. I’ve found that when I do this it thickens to that ideal consistency. Then you use a very fine strainer and strain the kefir into a bowl, maybe using a spoon to help it along.
Once the kefir is all drained and all you have left is the grains, you can go right into another batch, or you can place the grains in a small jar and cover with milk until you are ready for the next batch.
It sounds complicated, I promise it’s not. It’s one of those satisfying processes that everyone should try. Plus it’s so nutritious.
I’m on a mission to help Mike acquire a liking for it 😂 let me know if you give it a try or you have questions! Let’s feel better together xoxo